Have you ever wondered how ancient civilizations were able to create precise holes in stone or brick structures without modern power tools? The art of drilling holes in these materials dates back thousands of years and continues to be an impressive skill today. Whether you're a DIY enthusiast or a curious history buff, learning how to drill a hole in stone or brick can be a fascinating journey into the ancient techniques and modern methods used to achieve this precise and intricate task.
| Characteristics | Values |
|---|---|
| Material | Stone or brick |
| Hole size | Varies depending on the purpose |
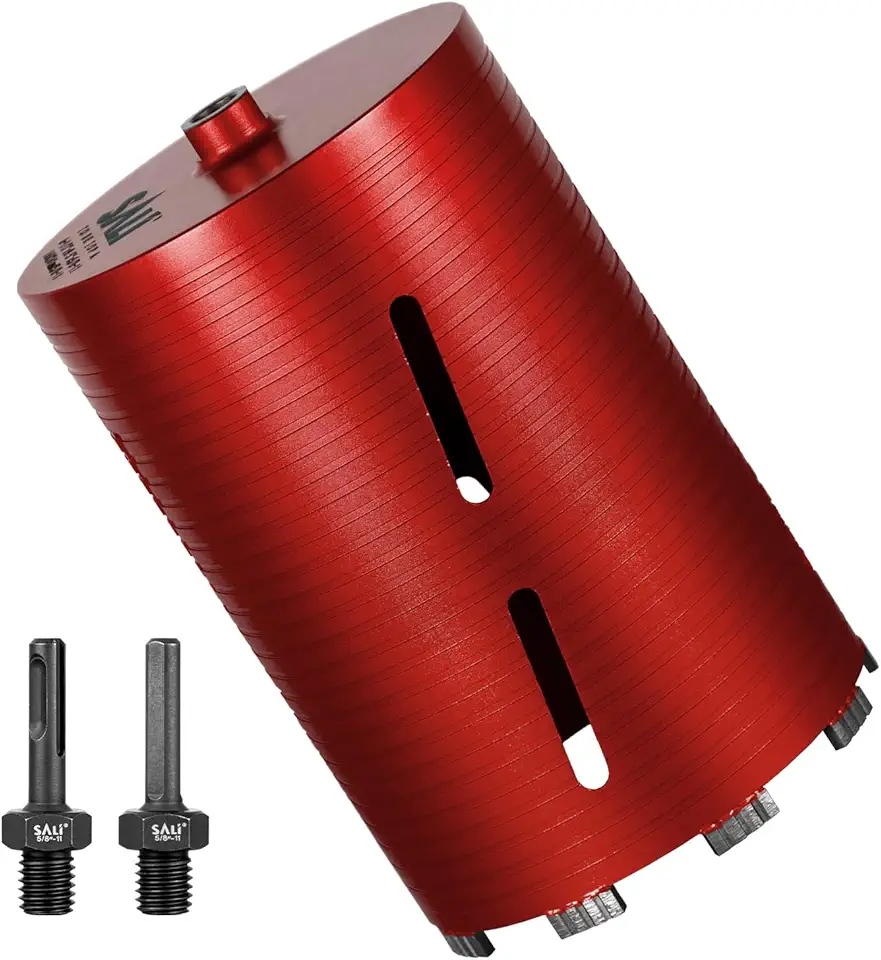
| Drill bit type | Masonry bit or diamond-tipped bit |
| Speed | Slow and steady |
| Pressure | Apply firm, even pressure |
| Safety | Wear safety goggles and gloves |
| Cooling | Use water or a coolant to keep the drill bit cool |
| Technique | Start with a small pilot hole and gradually increase the size |
| Dust control | Use a dust mask or vacuum to minimize dust |
| Support | Use a clamp or support to secure the stone or brick |
| Clean-up | Sweep or vacuum any debris |
| Accuracy | Mark the drilling point accurately |
| Stability | Secure the stone or brick on a stable surface |
| Maintenance | Clean the drill bit and store properly after use |
Explore related products
What You'll Learn

Tools and Materials Needed
When it comes to handling any kind of home improvement task, having the right tools and materials on hand is essential. This is especially true if you're planning on taking on a project that involves drilling into masonry. In order to successfully complete this type of project, you'll need to gather a few key items. Here are the tools and materials needed to get the job done:
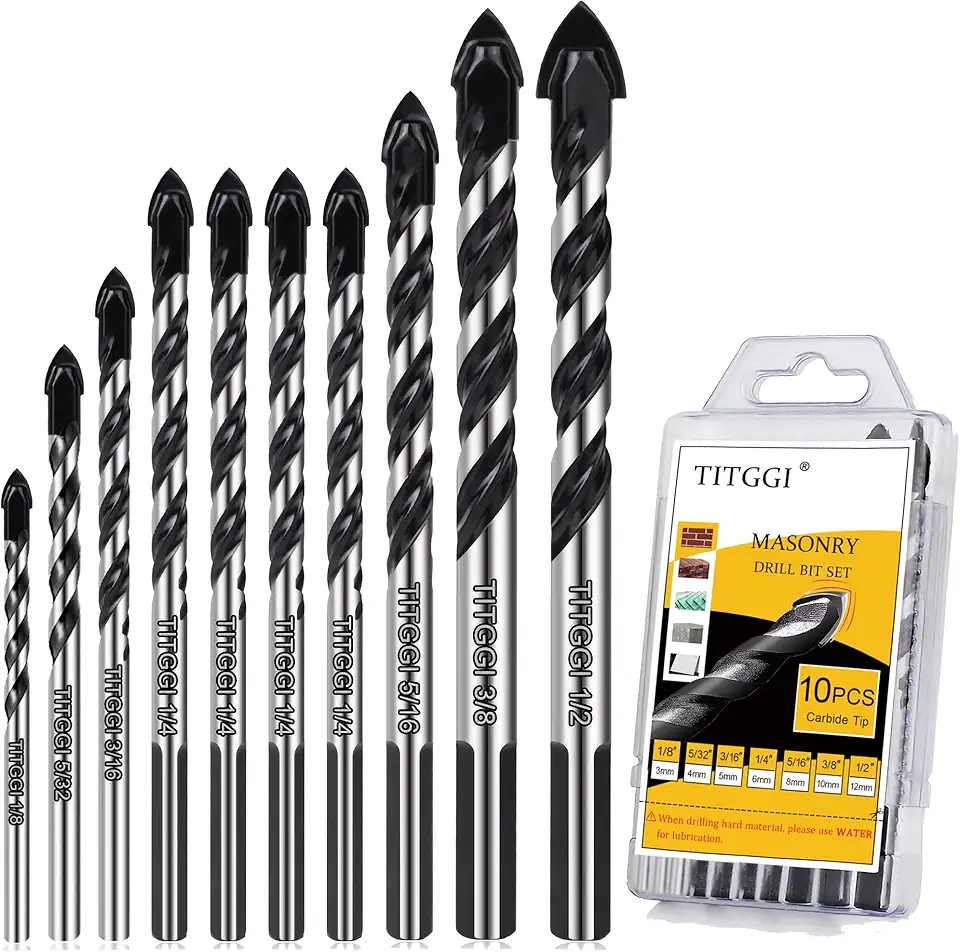
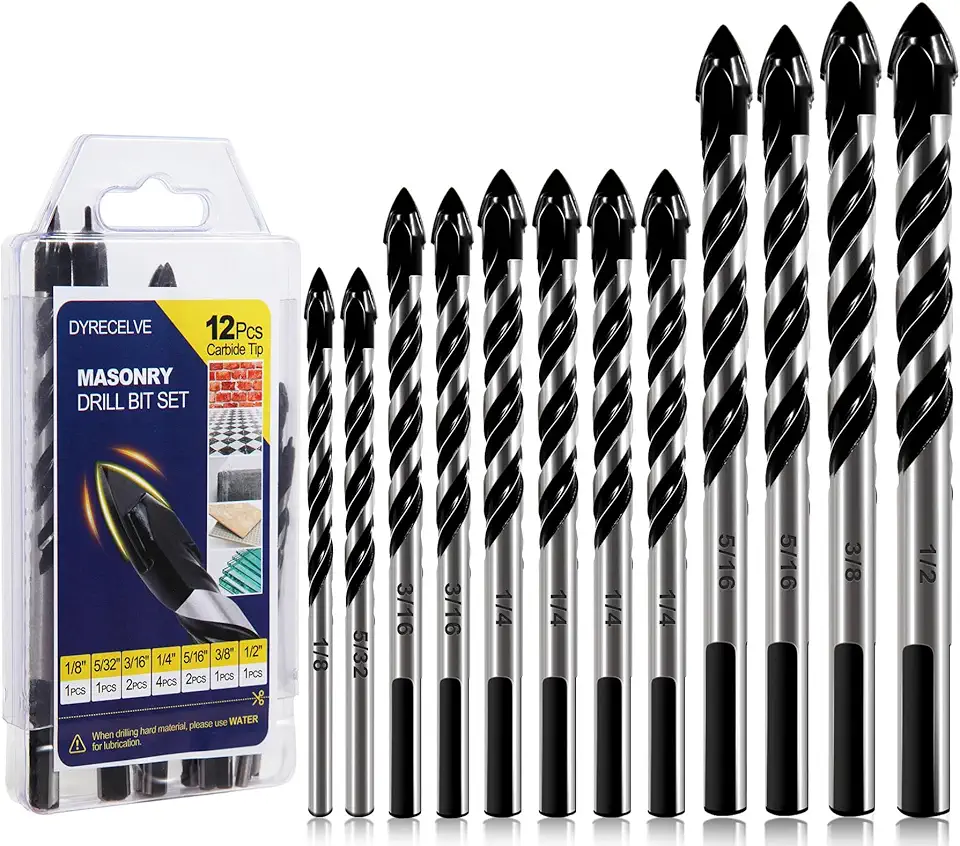
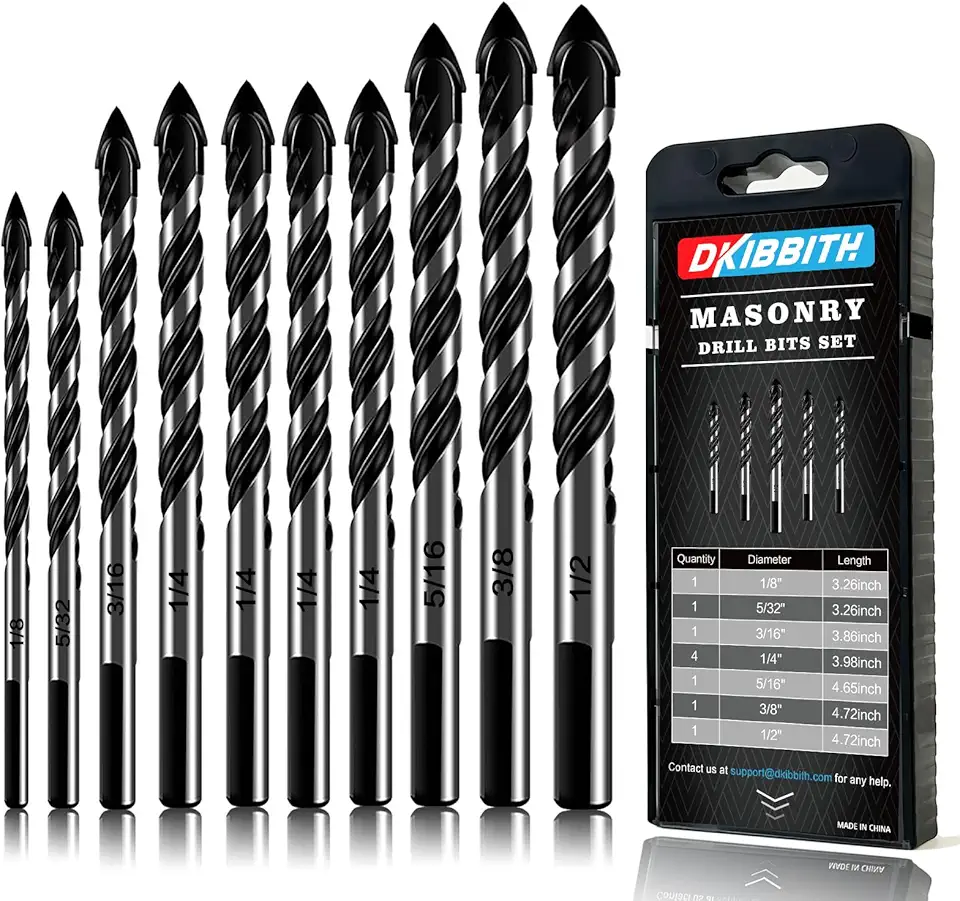
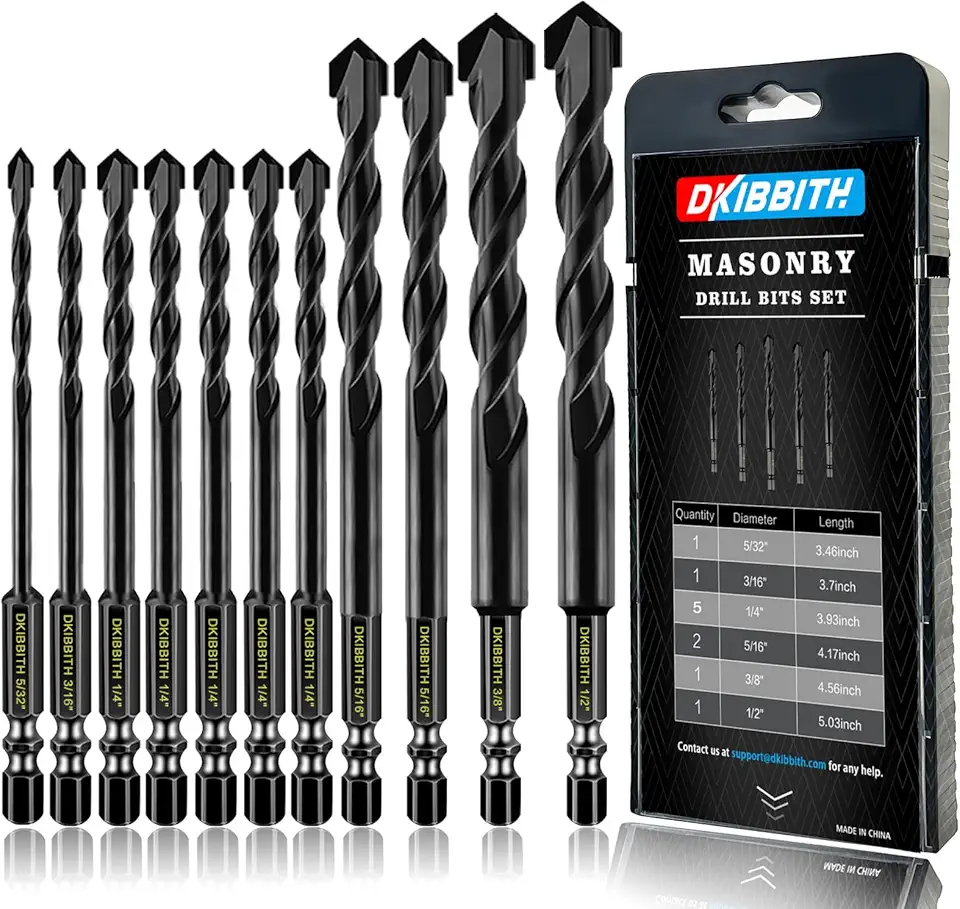
- Drill with masonry bit: One of the most important tools you'll need is a drill with a masonry bit. Drilling into masonry requires a bit that is specifically designed for this type of material. These bits have a carbide tip that allows them to dig into hard surfaces like concrete or brick. Make sure to choose the right size bit for your project, as different jobs require different hole sizes.
- Safety goggles: Whenever you're working with power tools, it's crucial to protect your eyes. Safety goggles are a must-have when drilling into masonry, as tiny particles can easily fly into your eyes during the process. Invest in a pair of goggles that fit securely and provide full coverage, to keep your eyes safe and protected.
- Hammer: Alongside your drill, a hammer will come in handy for certain applications. When drilling into masonry, it's common to use a hammer drill that combines rotary drilling with hammering action. This helps to break through the tough surface of the material you're working with.
- Center punch: A center punch is a small tool with a pointed end that you'll use to mark the spot where you want to drill. Simply position the center punch where you want to create a hole, and give it a tap with your hammer. This will create a small indentation that will help guide your drill bit, preventing it from slipping as you start drilling.
- Masonry nails: Masonry nails can be extremely helpful when working with masonry. These specialized nails have a grooved or fluted shank that provides excellent holding power. They can be used to secure items to masonry surfaces, or to help guide your drill bit when starting a hole.
- Masking tape: Masking tape might not seem like an obvious tool for drilling into masonry, but it can actually be quite useful. By placing a piece of masking tape over the spot where you'll be drilling, you can help prevent the bit from slipping or wandering off course. The tape also helps protect the surface from any potential scratches or damage.
Now that you have a clear understanding of the tools and materials needed for drilling into masonry, you're ready to tackle your project with confidence. By gathering these essential items, you'll be well-prepared to create the perfect holes and complete your home improvement task with precision and ease. Remember to always prioritize safety and follow the instructions for each tool to ensure successful results.
Reversing the Drill: Can You Drill Metal in Reverse?
You may want to see also

Preparing the Stone or Brick
When it comes to drilling into stone or brick surfaces, it is crucial to prepare the area properly to ensure a successful and safe drilling experience. Preparing the stone or brick involves several steps, including marking the drilling spot, securing the stone or brick, and applying masking tape. By following these steps, you can make sure that your drilling project goes smoothly and effectively.
Marking the drilling spot
The first step in preparing the stone or brick is to mark the drilling spot. This is an important step because it helps you locate and target the exact point where you want to drill. To mark the drilling spot, use a pencil or a marker to make a small dot on the surface of the stone or brick. Make sure the mark is visible and clear so that you can easily align your drill bit with the intended spot.
Securing the stone or brick
After marking the drilling spot, it is necessary to secure the stone or brick to prevent any movement or shifting during the drilling process. This is crucial because any movement can result in inaccurate drilling or damage to the surface. Depending on the size and weight of the stone or brick, you can use clamps or vices to hold it securely in place. Ensure that the securing method you choose is sturdy enough to keep the stone or brick steady throughout the drilling procedure.
Applying masking tape
Applying masking tape is another vital step in preparing the stone or brick. This helps to protect the surface from potential damage caused by the drill. To apply the masking tape, simply place a strip of tape over the drilling spot, covering the marked area completely. This will create a protective barrier between the drill and the stone or brick, reducing the risk of chipping or cracking. Additionally, the masking tape can also serve as a guide to prevent the drill bit from slipping during drilling.
While preparing the stone or brick, it is important to remember a few additional tips:
- Use the appropriate drill bit for stone or brick materials. Consult the manufacturer's instructions or a professional to determine the correct bit type and size.
- Start drilling at a slow speed to create a pilot hole. This will help guide the drill bit and prevent it from wandering off the intended drilling spot.
- Keep the drill perpendicular to the stone or brick surface to achieve accurate and clean holes.
- Apply steady pressure while drilling, but avoid excessive force that may cause the drill bit to break or damage the stone or brick.
- Use a cooling system, such as water or a cooling lubricant, to prevent overheating of the drill bit and minimize the risk of cracking or damaging the stone or brick.
By following these preparatory steps and tips, you can ensure a smooth and successful drilling experience on stone or brick surfaces. Remember to prioritize safety and take necessary precautions, such as wearing safety goggles and gloves, while drilling. Happy drilling!
Understanding the Drug Testing Methods Used by Trinidad Drilling
You may want to see also

Drilling the Hole
Drilling a hole may seem like a simple task, but there are a few key steps that will ensure success and prevent any mishaps. In this blog post, we will discuss the important aspects of drilling a hole, including using a center punch, starting with a small pilot hole, gradually increasing the drill bit size, and applying steady pressure while cooling the drill bit.
The first step in drilling a hole is to use a center punch. This small tool is used to create a small indentation on the surface of the material where you want to drill the hole. By doing this, you create a starting point for the drill bit and prevent it from slipping off the surface. To use a center punch, simply place the tip of the punch on the desired spot and give it a firm tap with a hammer.
Once you have created the center punch mark, it's time to start drilling. It is recommended to start with a small pilot hole before drilling the final hole size. This allows for greater control and reduces the chances of the drill bit wandering off track. Choose a drill bit that is slightly smaller than the final hole size and insert it into your drill. Place the tip of the drill bit on the center punch mark and apply gentle pressure while starting the drill at a low speed.
As you begin drilling, make sure to hold the drill perpendicular to the surface to ensure a straight hole. Slowly increase the drill speed while maintaining steady pressure. It's important to let the drill do the work, avoiding the temptation to apply excessive force, as this can lead to damage or breakage of the drill bit or even the material you are drilling.
After making the initial pilot hole, it's time to gradually increase the drill bit size to achieve the desired hole diameter. Choose the next size up drill bit and repeat the process. Continue this step until you have reached the desired hole size.
While drilling, heat can build up, causing the drill bit to overheat and wear out more quickly. To prevent this, it's important to apply a lubricant or coolant to the drill bit. This can be as simple as applying a few drops of cutting oil or spraying some water onto the drilling area. Cooling the drill bit will not only extend its life but also ensure a smoother drilling process.
In summary, drilling a hole requires a few important steps to ensure success. Start by using a center punch to create a starting point, followed by drilling a small pilot hole to establish control. Gradually increase the drill bit size until reaching the desired hole diameter. Lastly, apply steady pressure while cooling the drill bit to prevent overheating. By following these steps, you'll be able to drill precise and clean holes in various materials with ease.
How Hydraulic Drilling Platforms Work: A Comprehensive Guide
You may want to see also
Explore related products
$16.99

Finishing Touches
Finishing Touches
When it comes to completing a project, the finishing touches can make all the difference in achieving a professional look. Whether you are working on a woodwork project or a home renovation, taking the time to pay attention to the small details will ensure a high-quality outcome. In this article, we will outline some essential steps you can take to give your project those final finishing touches that will make it stand out.
Removing any debris or dust
Before adding any final touches to your project, it is crucial to ensure that the surface is clean and free of any debris or dust. Not only does this make your work area safer, but it also ensures a smooth and flawless finish.
Start by using a dry cloth or a brush to remove any loose debris or dust. Be thorough, paying extra attention to corners and hard-to-reach areas. You can also use a vacuum cleaner with a brush attachment to suck up any dust particles that you may have missed. By removing all the debris, you are setting the stage for a more professional and polished result.
Filling the hole if needed
If your project involves any wooden surfaces or drywall, it is crucial to inspect for any holes or imperfections that need to be addressed. Small holes can be easily filled using wood putty or spackle, depending on the material you are working with.
To fill a hole, start by cleaning the area around it with a damp cloth. Next, take a small amount of wood putty or spackle and smooth it over the hole using a putty knife or a similar tool. Make sure to fill the hole completely and remove any excess material to create a seamless finish. Allow the filler to dry according to the manufacturer's instructions.
Once the filler is dry, sand the area gently with fine-grit sandpaper to create a smooth and level surface. After sanding, wipe away any dust with a clean cloth. If desired, you can then paint or stain the filled area to match the surrounding surface, ensuring that it blends seamlessly with the rest of your project.
Ensuring proper safety precautions
Throughout the finishing process, it is essential to prioritize safety. Always wear protective equipment such as safety goggles, gloves, and a dust mask to protect yourself from any potential hazards.
When working with power tools, such as sanders or saws, follow all safety guidelines provided by the manufacturer. Ensure that your work area is well-lit and free of clutter to minimize the risk of accidents. Additionally, keep any flammable materials or chemicals away from open flames or heat sources to prevent fires or other dangerous situations.
By following these safety precautions, you can complete your project safely and enjoy the satisfaction of a job well done.
In conclusion, the finishing touches are a crucial part of any project. By taking the time to remove debris and dust, filling any holes if needed, and ensuring proper safety precautions, you will achieve a polished and professional result. Remember, attention to detail is what sets apart a mediocre project from an outstanding one, so don't rush through the finishing touches – take your time to ensure a high-quality finish that you can be proud of.
Attaching a Hole Cutter to a Drill: A Step-by-Step Guide
You may want to see also
Frequently asked questions
Yes, it is possible to drill a hole in stone or brick without damaging the material. To do so, you will need to use a masonry drill bit specifically designed for drilling into hard materials like stone or brick. It is also important to use the right drill speed and pressure to prevent the material from cracking or breaking.
For drilling into stone or brick, you will need to use a masonry drill bit. These drill bits are specifically designed to drill into hard materials like concrete, stone, or brick. They are made of a hardened steel material with a carbide or diamond tip that helps to cut through the hard surface.
When choosing the right size drill bit for drilling into stone or brick, you will need to consider the diameter of the hole you are trying to create. The size of the drill bit should match the desired diameter of the hole. It is important to choose a drill bit that is slightly smaller than the desired hole size to ensure a clean and accurate hole.
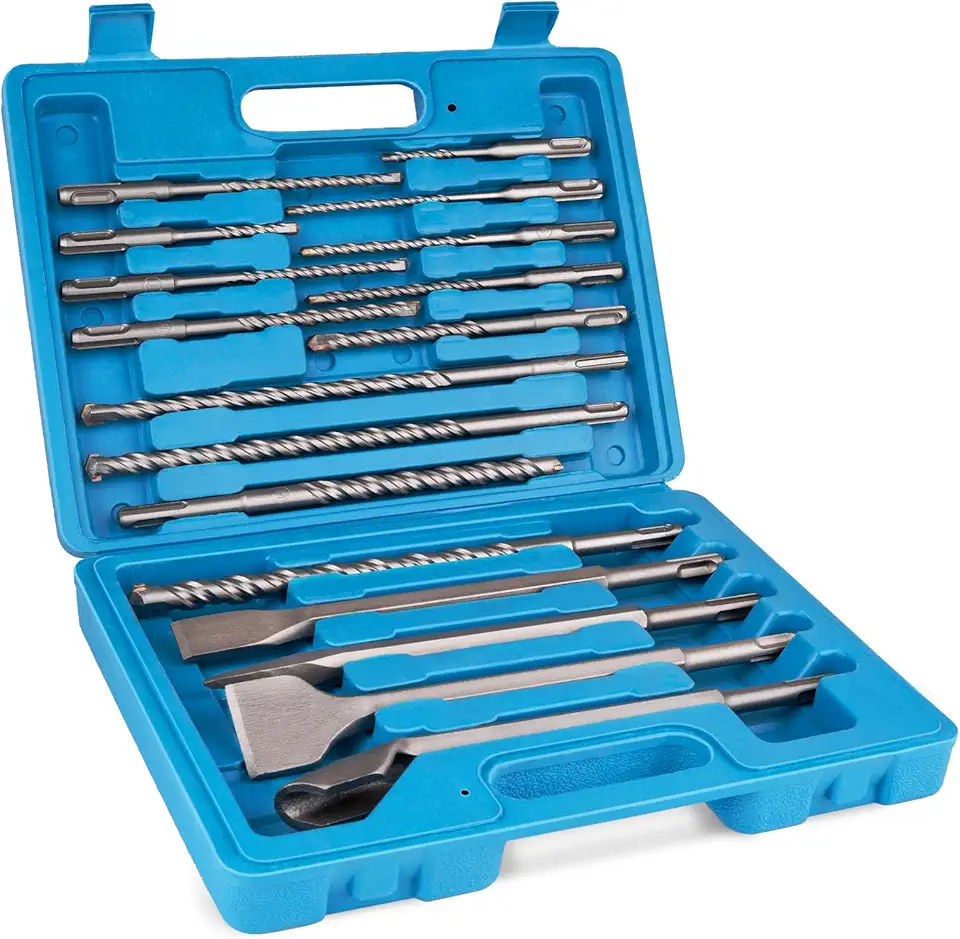
In addition to a masonry drill bit, you will need a hammer drill or rotary hammer drill to drill into stone or brick. These drills have a hammering action that helps to break through the hard surface and make the drilling process easier. You may also need a dust mask, safety goggles, and ear protection to protect yourself from any dust or debris that may be produced during the drilling process.
Before drilling into stone or brick, it is important to mark the spot where you want to drill and make sure it is level. You should also use a small pilot hole to start the drilling process, as this will help to guide the drill bit and prevent it from slipping. It is also important to use a steady and even pressure while drilling to ensure a clean and accurate hole. Finally, be sure to clean out any dust or debris from the hole after drilling to ensure a proper fit for any anchors or screws.
