Are you looking to add a touch of elegance to your staircase or enhance the design of your furniture? One effective way to achieve this is by adding spindles. Spindles are decorative, vertical rods that are often used in staircases, chairs, and other pieces of furniture. However, drilling holes for spindles can be a tricky task if you don't have the right tools and techniques. In this guide, we will explore the step-by-step process of drilling holes for spindles, ensuring that your project is a success. So grab your drill and let's get started!
| Characteristic | Value |
|---|---|
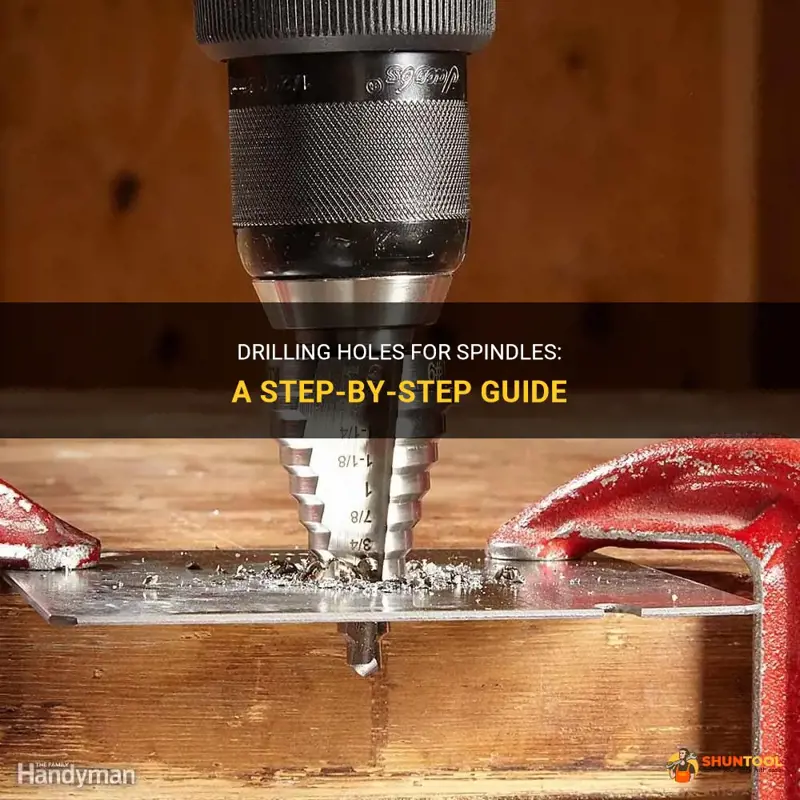
| Drill bit type | Spade or brad point |
| Drill bit size | Slightly smaller than the spindle |
| Drill speed | Medium to high |
| Drill depth | Half the length of the spindle |
| Drill angle | Perpendicular to the surface |
| Drill pressure | Firm but not excessive |
| Drill lubrication | None needed for wood |
| Drill safety | Eye protection, secure workpiece |
| Drill technique | Steady and controlled |
| Drill cleaning | Remove wood shavings regularly |
| Drill accuracy | Measure and mark hole position precisely |
![]()
Choosing the Right Tools
When it comes to completing any DIY or home improvement project, having the right tools is crucial. It can make the difference between a successful project and a frustrating one. In this blog post, we will discuss two important considerations when choosing the right tools: corded vs. cordless drills, and the appropriate drill bit size.
Corded vs. Cordless Drill
One of the first decisions you will need to make when choosing a drill is whether to opt for a corded or cordless model. Both have their advantages and disadvantages, so it's important to consider your specific needs and preferences.
Corded drills are powered by electricity and typically offer more power and torque compared to cordless drills. They are ideal for heavy-duty tasks that require drilling through tough materials such as concrete or metal. Corded drills also provide consistent power throughout the task, as they are not reliant on battery life.
On the other hand, cordless drills run on rechargeable batteries, which offer greater portability and convenience. They are perfect for smaller projects around the house that don't require a lot of power. With advances in battery technology, cordless drills now offer comparable power to corded drills, making them a popular choice for many DIY enthusiasts.
When deciding between corded and cordless drills, consider the type of projects you will be working on and the level of power you need. If you anticipate tackling large-scale projects or working with tough materials, a corded drill may be the best option. However, if you prioritize flexibility and mobility, a cordless drill will likely suit your needs.
Appropriate Drill Bit Size
Another important consideration when choosing the right drill is selecting the appropriate drill bit size. The size of the drill bit will depend on the specific task at hand and the material you will be drilling into.
For general use, a set of drill bits with various sizes is recommended. This will allow you to tackle a wide range of projects, from drilling small holes for screws to larger holes for pipes or cables.
When drilling into wood or soft materials, a smaller drill bit size is usually sufficient. For example, a 1/8-inch or 3/16-inch drill bit is commonly used for pilot holes before inserting screws.
If you are drilling into harder materials such as metal or concrete, larger drill bit sizes are often required. In these cases, a 1/4-inch or 3/8-inch drill bit may be more appropriate.
It's always a good idea to start with a smaller drill bit and gradually increase the size if needed. This allows for more control and prevents the material from cracking or splintering.
In conclusion, when choosing the right tools for your DIY or home improvement projects, it's essential to consider factors such as whether to opt for a corded or cordless drill and selecting the appropriate drill bit size. By taking these considerations into account, you can ensure that you have the right tools to successfully complete your projects.
The Best Techniques to Drill into Plaster without Cracking It
You may want to see also
![]()
Preparing the Work Area
Creating an efficient work environment is crucial when it comes to tackling any project, especially when it involves drilling holes. Preparing the work area properly ensures that you have a smooth, uninterrupted experience while achieving accurate and precise results. Here are two important aspects you need to consider when preparing your work area: marking the spots for the holes and clearing the area of any obstacles.
Marking the Spots for the Holes
Before diving into drilling holes, it's essential to mark the exact spots where you want them to be. This step determines the accuracy and alignment of your project, preventing any miscalculations or unwanted mistakes. Follow these steps to ensure precise hole placement:
- Measure and plan: Start by measuring the dimensions of your project or object. Use a tape measure or ruler to determine the required distance between holes, considering any specific design or functional elements.
- Use a pencil or marker: Once you establish the measurements, take a pencil or a marker and lightly mark the spots where the holes should be drilled. Ensure that these marks are clearly visible, but also easily removable or erasable, as you may need to adjust or correct them during the drilling process.
- Double-check and confirm: To further guarantee the accuracy of your markings, double-check and compare them with your initial measurements. Take your time to ensure that the positions are precise and aligned correctly before proceeding with any drilling.
Clearing the Area of Any Obstacles
Creating a clutter-free work area not only enhances your safety but also allows you to work more efficiently and effectively. Removing any obstacles or debris in the vicinity of your drilling project avoids potential accidents and ensures a smooth workflow. Follow these steps to clear the area effectively:
- Identify potential hazards: Before starting the work, inspect the area thoroughly. Look for any objects, wires, or materials that may obstruct your drilling process or pose a safety risk. These can include furniture, cables, decorations, or even loose debris.
- Remove or secure objects: Clear the area by removing any unnecessary items that are in the way. Relocate furniture or decorations temporarily to a safe place outside of the work area. Secure any cables or wires that cannot be moved to prevent accidental tripping or tangling.
- Clean the work surface: Ensure that the surface on which you'll be drilling is clean and free from any loose particles or debris. Use a brush, broom, or vacuum to remove dust, dirt, or any other contaminants that may interfere with the drilling process or affect the accuracy of your holes.
By properly marking the spots for the holes and clearing the work area of any obstacles, you set yourself up for a successful drilling project. Taking these preparatory steps ensures accuracy, safety, and a more efficient workflow. Remember to always follow any additional safety guidelines or manufacturer instructions specific to your drilling equipment for the best results.
The Essential Guide to Core Drilling a Hole: Tips and Techniques
You may want to see also
![]()
Drilling the Holes
Mastering the technique of drilling holes is an essential skill for many DIY enthusiasts and professionals alike. Whether you are hanging a picture frame or working on a larger project, drilling holes accurately and precisely can make a significant difference in the final result. In this guide, we will walk you through the key steps of drilling the holes, securing the material, setting the drill speed, and drilling straight and steady.
I. Securing the Material:
Before you start drilling, it's crucial to secure the material you are working with to avoid any accidents or damage. Follow these steps to ensure a safe and stable drilling process:
- Choose the right work surface: Place the material you need to drill on a sturdy work surface such as a workbench or a table. This will provide stability and prevent movement during drilling.
- Clamping or holding the material: For smaller materials or objects, use clamps to firmly hold them in place. Position the clamps strategically to keep the material steady and accessible for drilling.
- Marking the drilling spot: Use a pencil or a marker to mark the exact location where you want to drill. Double-check to ensure precision and accuracy before moving on to the next step.
II. Setting the Drill Speed:
Now that the material is securely in place, it's time to set the drill speed correctly. Setting the appropriate speed ensures cleaner holes and prevents damage to the material. Follow these guidelines:
- Check the material type: Identify the type of material you are drilling (wood, metal, plastic, etc.). Different materials require different drilling speeds. Refer to the manufacturer's recommendations or do a quick online search for the appropriate speed settings for your specific material.
- Adjust the drill speed selector: Most drills feature a speed selector or trigger that allows you to adjust the drilling speed. Set the speed accordingly, starting with a slower speed for harder materials and gradually increasing it for softer materials.
- Test the speed: Before drilling the actual hole, make a trial hole in a scrap piece of the same material to ensure the drill speed is suitable. If the drill bit is spinning too fast and causing the material to burn or smoke, reduce the speed. Conversely, if the drill bit is struggling to penetrate the material, increase the speed.
III. Drilling Straight and Steady:
Achieving straight and steady holes is the key to professional-looking results. Follow these steps to ensure accuracy and precision:
- Pick the right drill bit: Select a drill bit of the appropriate size and type for your intended hole. Using the wrong size or type of drill bit can result in irregular or damaged holes.
- Align the drill: Hold the drill perpendicular to the material surface and align it with the marked spot. This will help keep the hole straight and prevent any unnecessary deviation.
- Apply consistent pressure: Apply steady and even pressure on the drill while drilling the hole. Avoid pushing too hard, which can cause the drill bit to wander or splinter the material.
- Use guidance aids if necessary: If drilling large or deep holes, it may be helpful to use a drill press or create a pilot hole using a smaller drill bit first. These aids can help maintain precision and prevent the drill bit from slipping off track.
Drilling holes is a fundamental skill that, when done correctly, can elevate the quality of your projects and prevent unnecessary mistakes. By securing the material, setting the drill speed accurately, and drilling straight and steady, you can achieve professional-looking results every time. Remember to prioritize safety, follow the manufacturer's recommendations, and practice to improve your drilling technique. Happy drilling!
The Definitive Guide to Drilling Holes for Pedowel Joinery
You may want to see also
![]()
Finishing Touches
After all the hard work you've put into your project, it's finally time to add the finishing touches. This is the stage where you can really make your creation shine and ensure that it will last for years to come. Here are three important steps to consider: sanding the holes, applying a protective finish to the material, and installing the spindles.
Sanding the Holes
Before you can move on to the next step, it's important to make sure that all the holes in your project are smooth and free of any rough edges. Start by using a coarse-grit sandpaper to remove any excess material around the holes. Be careful not to sand too aggressively, as this can cause the holes to become too large or misshapen.
Once you have removed the excess material, switch to a finer-grit sandpaper to smooth out the edges of the holes. Use a circular motion and apply even pressure to ensure a smooth finish. Take your time with this step, as it will greatly affect the final appearance of your project.
Applying a Protective Finish to the Material
Now that your holes are sanded and smooth, it's time to protect the material from the wear and tear of everyday use. There are many different types of finishes you can choose from, including varnish, polyurethane, or wax. Each has its own unique properties, so be sure to choose one that is suitable for the type of material you're working with.
Before applying the finish, make sure the surface of your project is clean and free of any dust or debris. Use a soft cloth or a tack cloth to remove any particles that may have settled on the surface. If necessary, lightly sand the material with a fine-grit sandpaper to create a smooth surface for the finish to adhere to.
Once the surface is clean and smooth, apply a thin, even coat of the finish using a brush or a cloth. Be careful not to apply too much at once, as this can lead to drips or uneven coverage. Allow the finish to dry according to the manufacturer's instructions, and then apply additional coats as needed.
Installing the Spindles
The final step in completing your project is to install the spindles. Start by measuring the distance between each hole and cut your spindles to the appropriate length. Sand any rough edges or burrs on the cut ends of the spindles to ensure a smooth fit.
Next, apply a small amount of wood glue to the bottom of each spindle and insert it into the hole, making sure it is straight and secure. Use a mallet or a rubber mallet to gently tap the spindles into place if necessary. Repeat this process for each spindle until they are all installed.
Once the spindles are in place, allow the glue to dry according to the manufacturer's instructions. Finally, give your project a thorough inspection to ensure that everything is secure and well-finished. Make any necessary adjustments or touch-ups, and then step back and admire your finished creation.
Remember, the finishing touches are what make a project truly complete. By taking the time to sand the holes, apply a protective finish, and install the spindles with care, you can ensure that your project will not only look great but also stand the test of time.
The Pros and Cons of Leaving a Cordless Drill Battery on the Charger
You may want to see also


